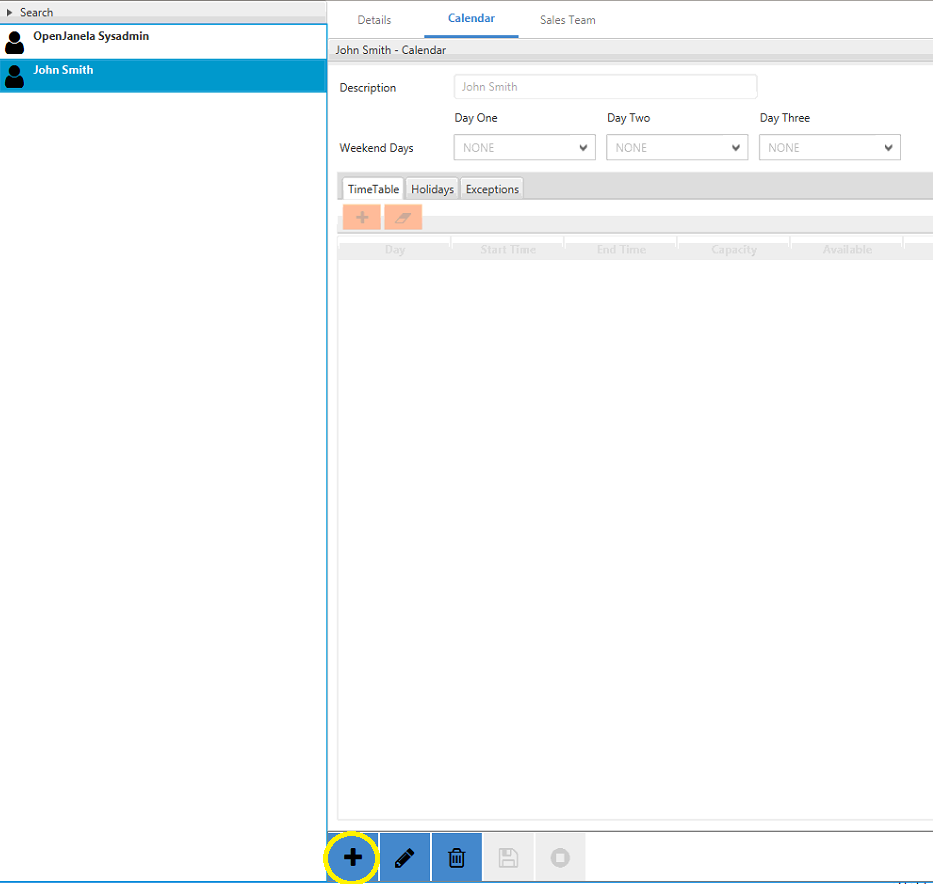
Main Sales Management Creating Salespeople Step One Go to “Sales Management”, and click on “Sales Partner Management” Step Two Go to “Details” and click on the “+” icon to create a new sales partner. Step Three Fill in the required fields.Select the company branch where the sales partner is assigned to.Resource should be set as user.In “Sales Person” you will see a drop down of users. Select which user you will be adding as a “Sales Person”.“First Name” and “Last Name” will be auto filled after selecting a user under “Sales Person” Step Four Click on Save. Step Five Add the sales person availability.In this section we will define the working times, weekend and holidays for the sales person.Go to Calendar and click con the “+”. Step Six Description will be auto-filled with the sales partner name and last name.Set weekend days by clicking on the drop down under “Day One”, “Day Two” and “Day Three”Edit the “Start Time” and “End Time”. Step Seven Holidays can also be added into the calendar. To do so, click on Holidays and then on the “+” icon as shown bellow. Step Eight Click on save to finish adding the calendar. Step Nine Add the sales person into a “Sales Team”.Go to Sales Team and click on edit. Step Ten Select the available “Sales Team” and click on “>” to assign the sales person into the selected “Sales Team”. Step Eleven Click on save to finish